Typically, ceiling fans are installed in most homes in order to keep it nice and cool, especially on long, hot days. If your ceiling fan is installed in your bedroom, then that’s great too. Having a ceiling fan installed in this room of the house is sure to make you sleep soundly, peacefully and comfortably.
If you’re trying to figure out how to install a ceiling fan mounting bracket, you’ve come to the right place. In this article, we will be detailing step by step how you can easily get it installed in your home.
Table of Contents
How To Install A Ceiling Fan Mounting Bracket
First of all, you can relax because the process is not complicated and can easily be done as long as you follow the instructions carefully. If you don’t want to call an electrician, it’s a process you can go through yourself. This is particularly beneficial if you’re trying to save some money.
Tools You Will Need To Work
- Adjustable wrench which is also known as a crescent.
- A Voltage tester.
- Wire cutters or a stripper.
- Pliers.
- Screwdrivers.
- Tape which is normally used by electricians.
- A ladder.
- A dust mask – Get a proper one if you can.
- Safety goggles.
Step 1: Choose the Area Where The Fan Will Be Installed
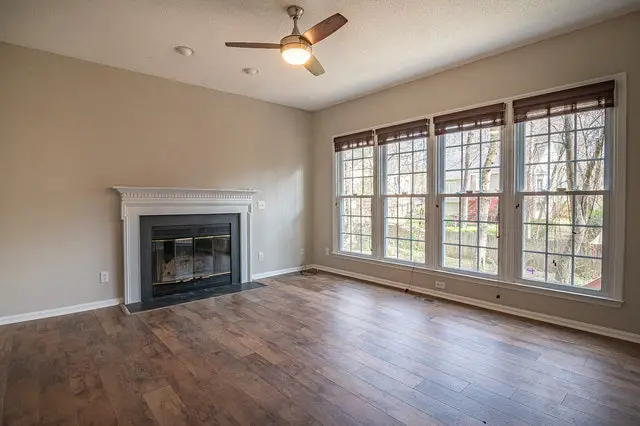
First, you will need to select a suitable spot for where you would like your ceiling fan to be installed.
When you’re scouting this area out, you need to bear in mind a factor like power outlets that are close enough to supply your fan with electric current. This should not be so hard if you already had an old fan that needs replacing.
Alternatively, you can choose to install the fan on a light fixture that is already there by simply replacing it. All you need to do is remove the fixture. This can be done by removing any light bulbs and, if it applies, decorative glass.
Next, you will need to remove the screws holding the fixture in place. After you’ve done this, you will need to break the connection by removing the plastic wiring. Once this is done, the fixture will be completely removed.
In some cases, the electric box is directly above the ceiling joist which will make the whole process much easier. In this case, all you need to do is bracket the joist to your ceiling fan.
If the electric box is located in the middle with two joists located on either side, you will need to go the route of installing a support bar.
Step 2: Install The Electric Box
You will need to get an electric box which backs the fan completely or has the capacity to do this. You can do this by checking the ratings which are stamped to it.
If the light fixture you where you want to install the fan is quite small, purchase an electric box that will be able to withstand vibrations from the fan.
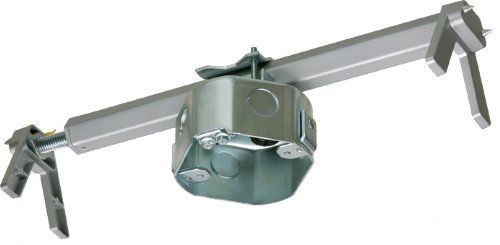
You should have access to the attic in order to fix a support bar. In some instances, the bars will have a straight connection to joist via screws.
Cross pieces which are expandable and have spiky ends are cool to have in other examples. This is because of the fact that they provide you with the opportunity to just twist the crosspiece.
When this expansion occurs, you will be able to dig the spiky ends inside the joists quite easily and allows the fan to be properly held in place.
When you’ve removed the old box, wholly insert the retrofit box. You will need to place it above the hole. You will then need to rotate it via your hands.
Do this until the box looks like its protruding from the hole. The joist and crosspiece need to be at right angles as well.
Step 3: Fasten The Mounting Bracket
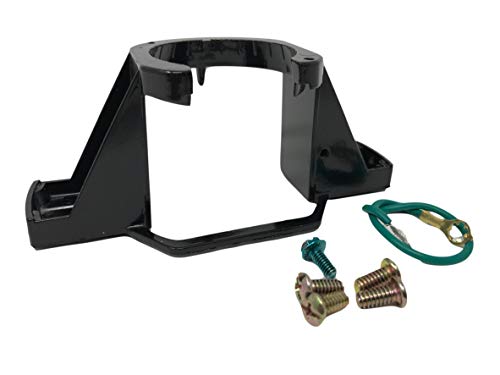
When you’ve ensured the electric box is its proper position, you can go ahead to securely install the mounting bracket. Large ceiling fans usually have a mounting bracket system installed.
These systems usually include a plan which allows you to screw it directly and also goes with the new wiring box. People have noticed that foam pads are visible in modern models. These foam pads are there to reduce any vibration or noise problems.
All you need to do is place the mounting bracket over the ceiling fan. To fix it to the wiring box, use the screws to do so.
You will notice they have been given a room in the bracket via a distinct shape. This part holds the ceiling fan rod and makes sure it is mounted down securely. The rod is there so that it can provide support to the fan motor.
Next, you will need to place the decorative ceiling plate. Use it to cover the mounting bracket and fix it. This may differ from model to model but things such as adhesives, screws and others are used to fix the plate.
Once you’ve done this, you will have to complete installing the fan while following the guidelines which came with the ceiling fan.
(Click here to learn about installing a ceiling fan where no fixture exists).